
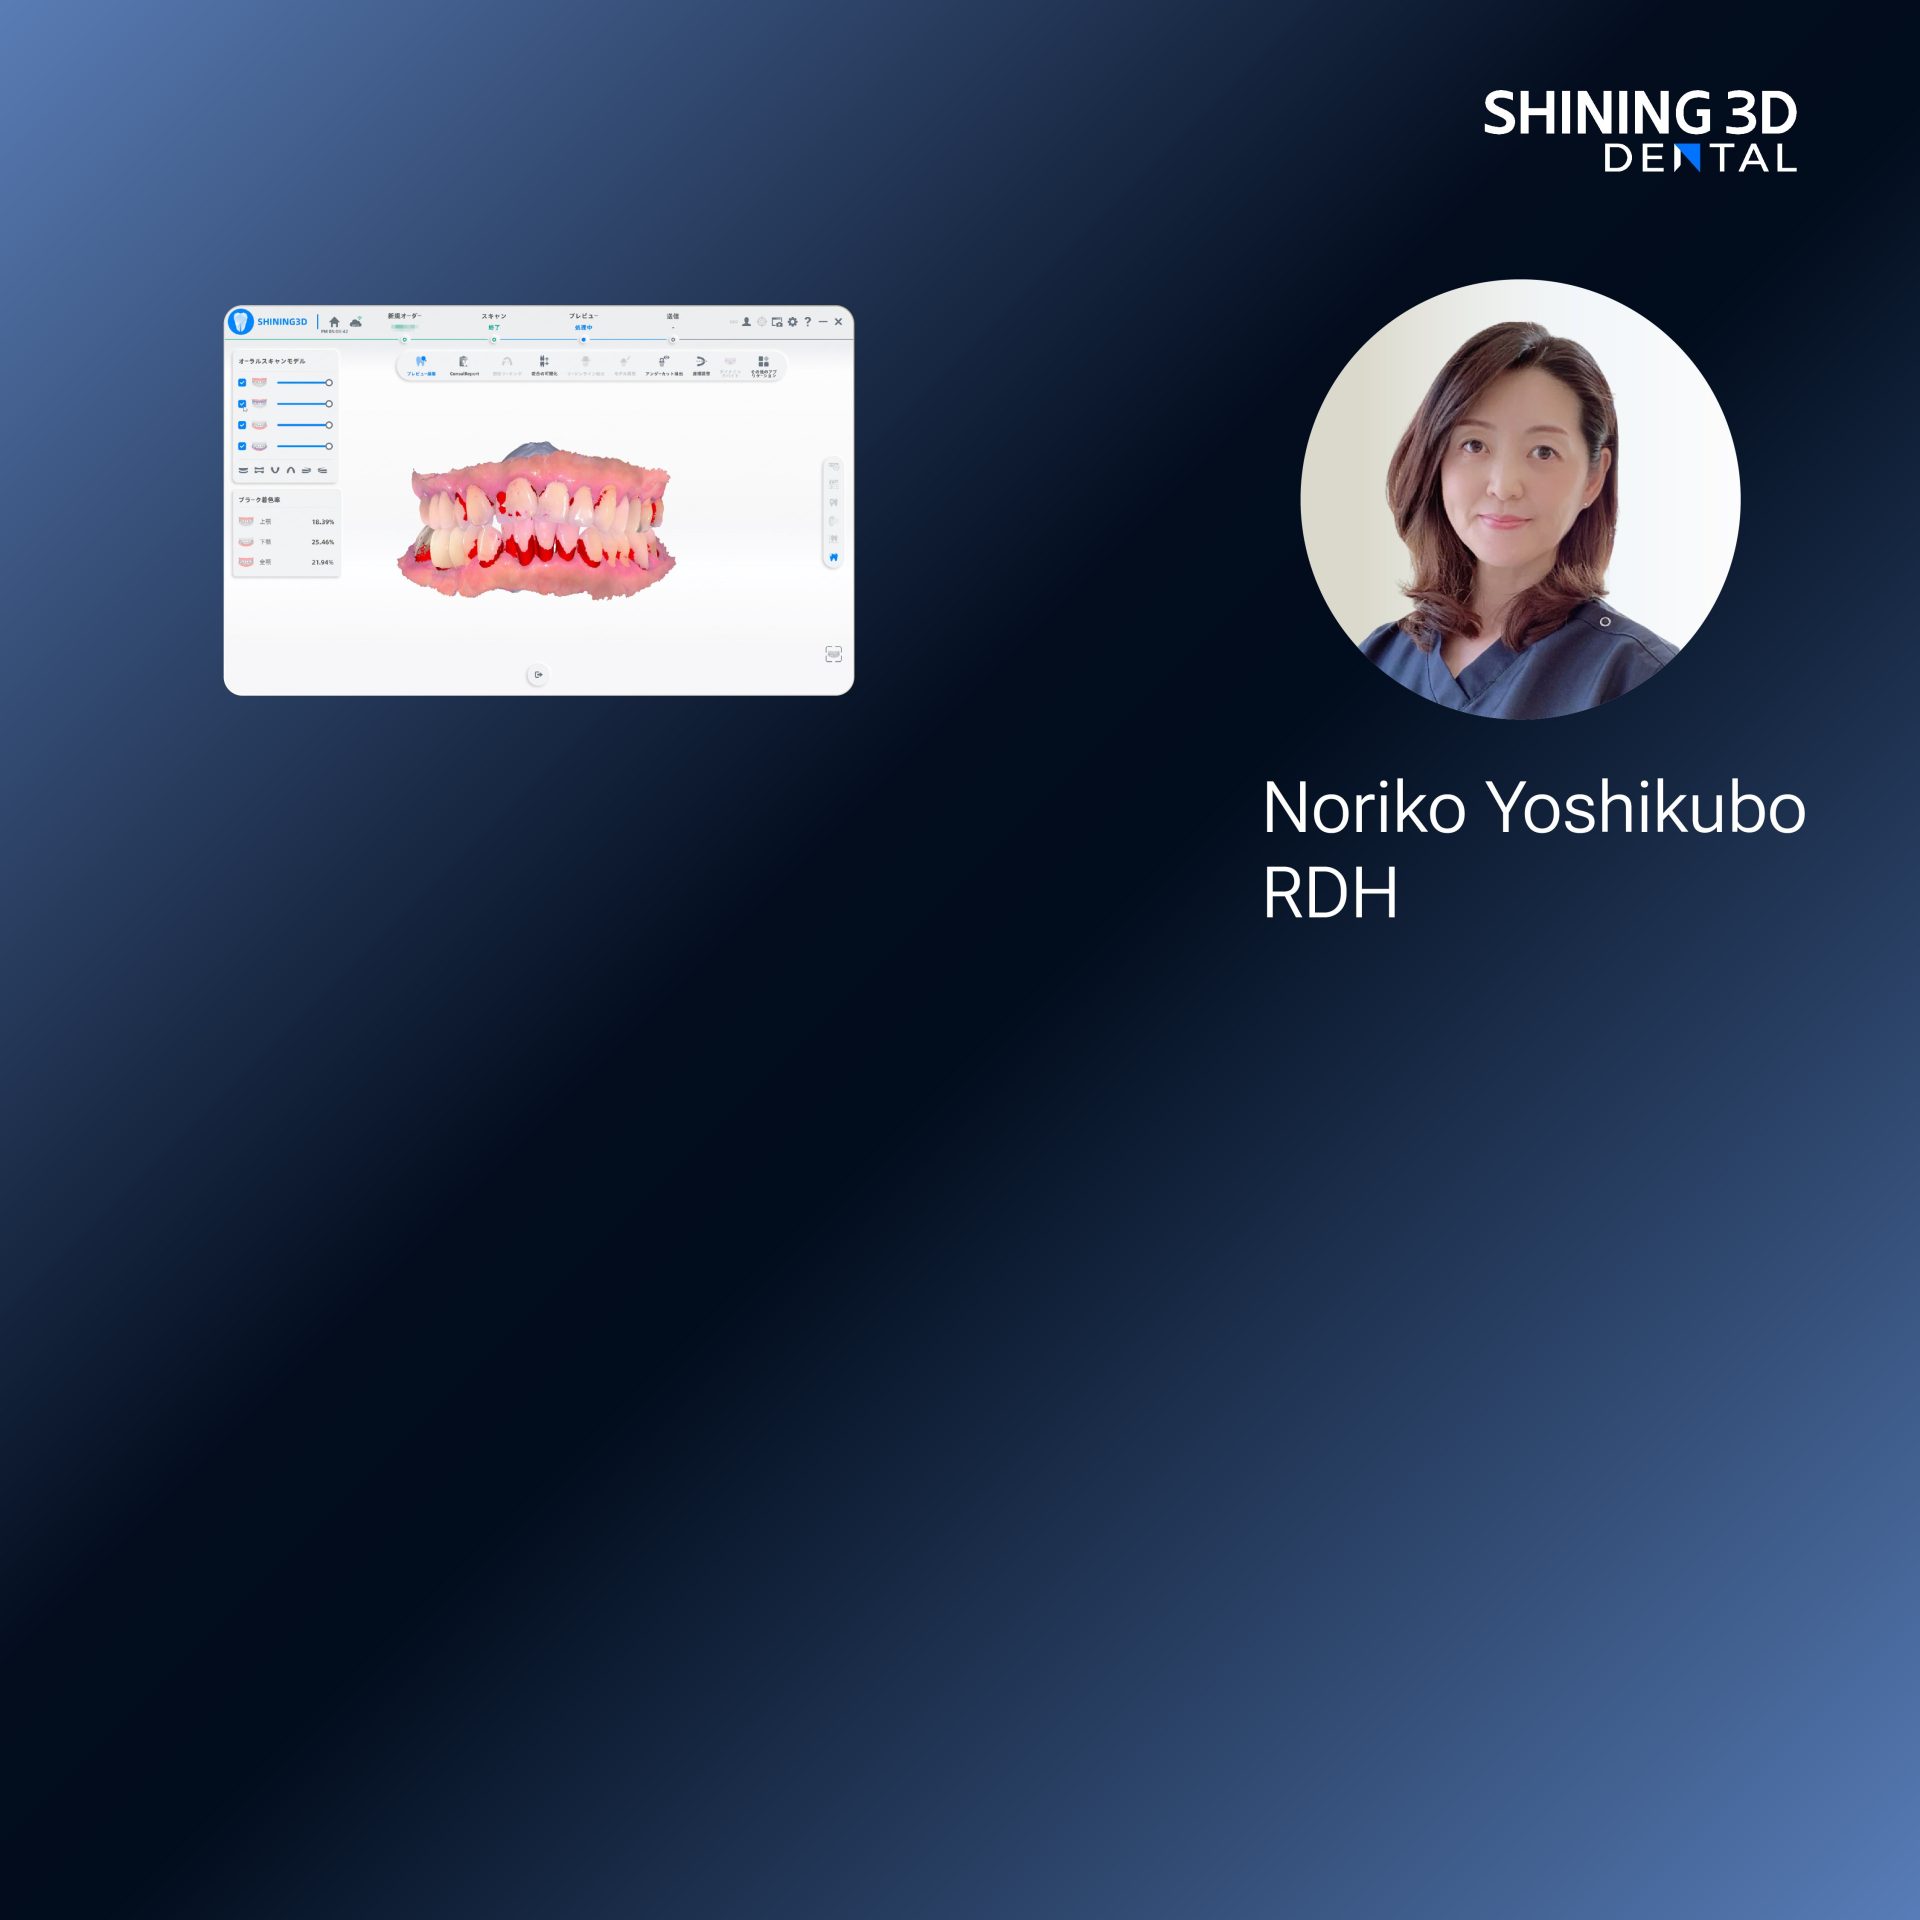
What matters to you as a user
You’re running a chair, juggling patient schedules, and you need impressions that don’t sulk or drool. An intraoral scanner replaces gooey trays with a handheld wand that captures the mouth as 3D data. That’s the hook. For clinicians, dental assistants, and lab techs the true question is: does it make everyday work faster, less messy, and more accurate? Short answer: often yes — when you pick the right device and use it properly.
How users actually use one, step by step
First: prep like you would for a crown. Dry the field enough to reveal margins. Next: scan the quadrant or full arch with steady passes — don’t rush like you’re on a coffee break. The software stitches the frames into a model; you clean up stray noise; you export an STL or send the case to a lab. That’s the user flow. It’s simpler than mastering a new drill but still needs practice to keep scans fast and consistent.
Why it changes patient interactions
Patients notice two things: comfort and speed. No tray gag reflex, no waiting for stone to set. You can show the scan on-screen and explain a margin or contact in plain terms. That improves acceptance. From a user standpoint, better communication reduces remakes and repeat visits — real time savings, not just feel-good talk.
Common user mistakes that waste time
People treat the scanner like a camera and expect perfect shots. It’s not about one hero sweep; scanning needs controlled overlap and consistent distance. Mistakes I see: pausing mid-arc and moving back later (creates stitch errors), forgetting to dry the area (reflective enamel screws up capture), and exporting the wrong file format for the lab. Train the team on one standard protocol and enforce it — consistency beats heroic rescues.
Alternatives and when to choose them
If your lab still prefers stone models, or you do a small number of esthetic cases, traditional impressions can still be acceptable and cheaper upfront. Other options: high-end scanners with faster capture and larger chips; budget scanners that require slower passes but get the job done. Evaluate based on the work you do most — crowns, ortho setups, implants — and choose the scanner that matches that workload, not the one with the fanciest spec sheet.
Checklist: what users should evaluate before buying
Ask these things: How fast are full-arch scans in real cases? What file formats are supported? Is the software intuitive for staff or does it need a tech wizard? How does the device handle reflective surfaces or subgingival margins? What’s the support and training look like? And crucially, what are consumable or license fees after year one? Get clear answers before you sign.
Real-world evidence
Across clinics in Boston and at major gatherings like the American Dental Association meetings, clinicians trade notes about real case throughput and remakes — not marketing brochures — and that’s where the practical value becomes obvious. Hands-on sessions and peer conversations often highlight differences between devices more than spec lists ever will, which is why practitioners bring cases to those meetings to test the digital dental scanner workflows before committing.

Wrapping up with the practical choice
Pick a scanner that matches how your team works, not one you hope they’ll change into. Train staff on a tight, repeatable scanning routine. Expect a learning curve and measure for fewer remakes, faster turnaround, and better patient experiences. For many dental teams I’ve worked alongside, that pragmatic balance — clear data, reliable service, and a manageable learning path — is why they settle on solutions from SHINING 3D DENTAL.

